For artists, a viewfinder can be a helpful tool to find the most visually interesting view of their subject while hiding parts they do not want to include. Viewfinders can also be used for looking at artwork. They help you slow down and focus closely on one section at a time.
Creating a viewfinder
Materials needed: recycled cereal box, pencil, ruler, scissors
Optional materials: paper, glue, pencil crayons, markers
- Measure and cut a rectangle from the cereal box measuring 15 cm by 20 cm. Once cut, turn the rectangle so it’s up and down, in portrait or vertical orientation.
- On the top end you are going to make a small rectangle 3 cm high and 4 cm wide. This small rectangle will be 5.5 cm from the top of the cardboard and 5.5 cm from each side of the cardboard. Measure and cut the small rectangle out.
- Voila! This is your viewfinder!
Make it your own
Cut a piece of blank paper the same size as the cardboard viewfinder. Glue the paper to the printed/colourful side of the cardboard. Decorate the paper and put your name on it.
How to use your viewfinder
Stand or sit in front of an artwork. Use your arm on the same side as the eye you are looking through.
- Look at the artwork slowly and carefully. Are there any areas that make you curious?
- Hold your viewfinder at arm’s length with the blank side toward you and the decorated side away from you.
- Close one eye and look through the open rectangle. Can you find the parts that made you curious? You can move the viewfinder closer to your eye to make the rectangle and viewing area larger.
Practice with your viewfinder
Choose one colour in the artwork. Spend some time looking at this colour. Find different areas in the artwork that have this colour. Allow your mind to wander to anything the colour reminds you of.
Viewfinders are not just for art
Viewfinders can be used on many different things, both inside and outside, like buildings, trees, and flowers. Take your viewfinder with you and explore.
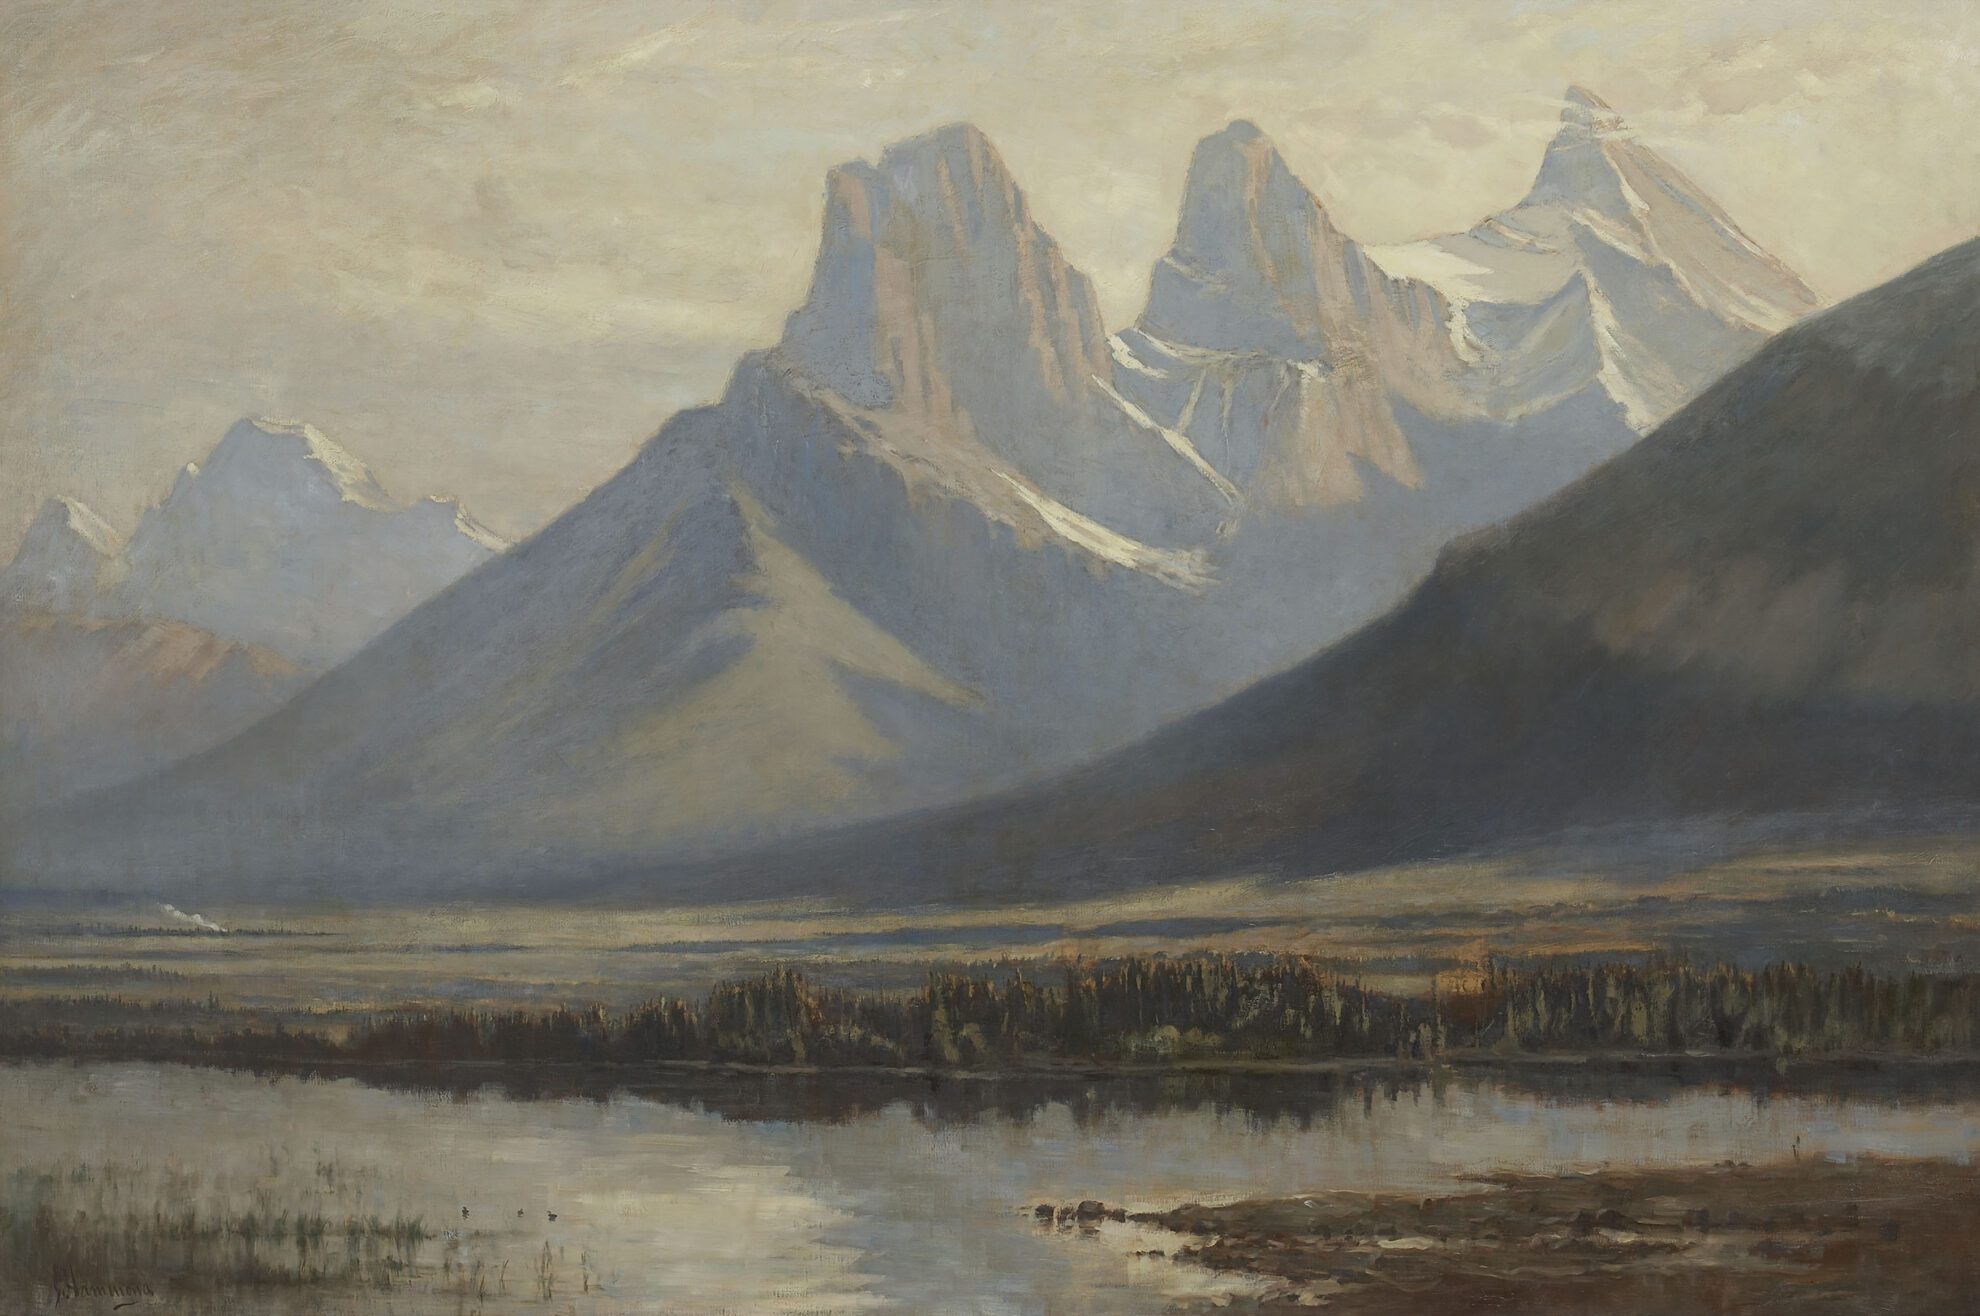
John Hammond, The Three Sisters, 1890, Collection of Glenbow.
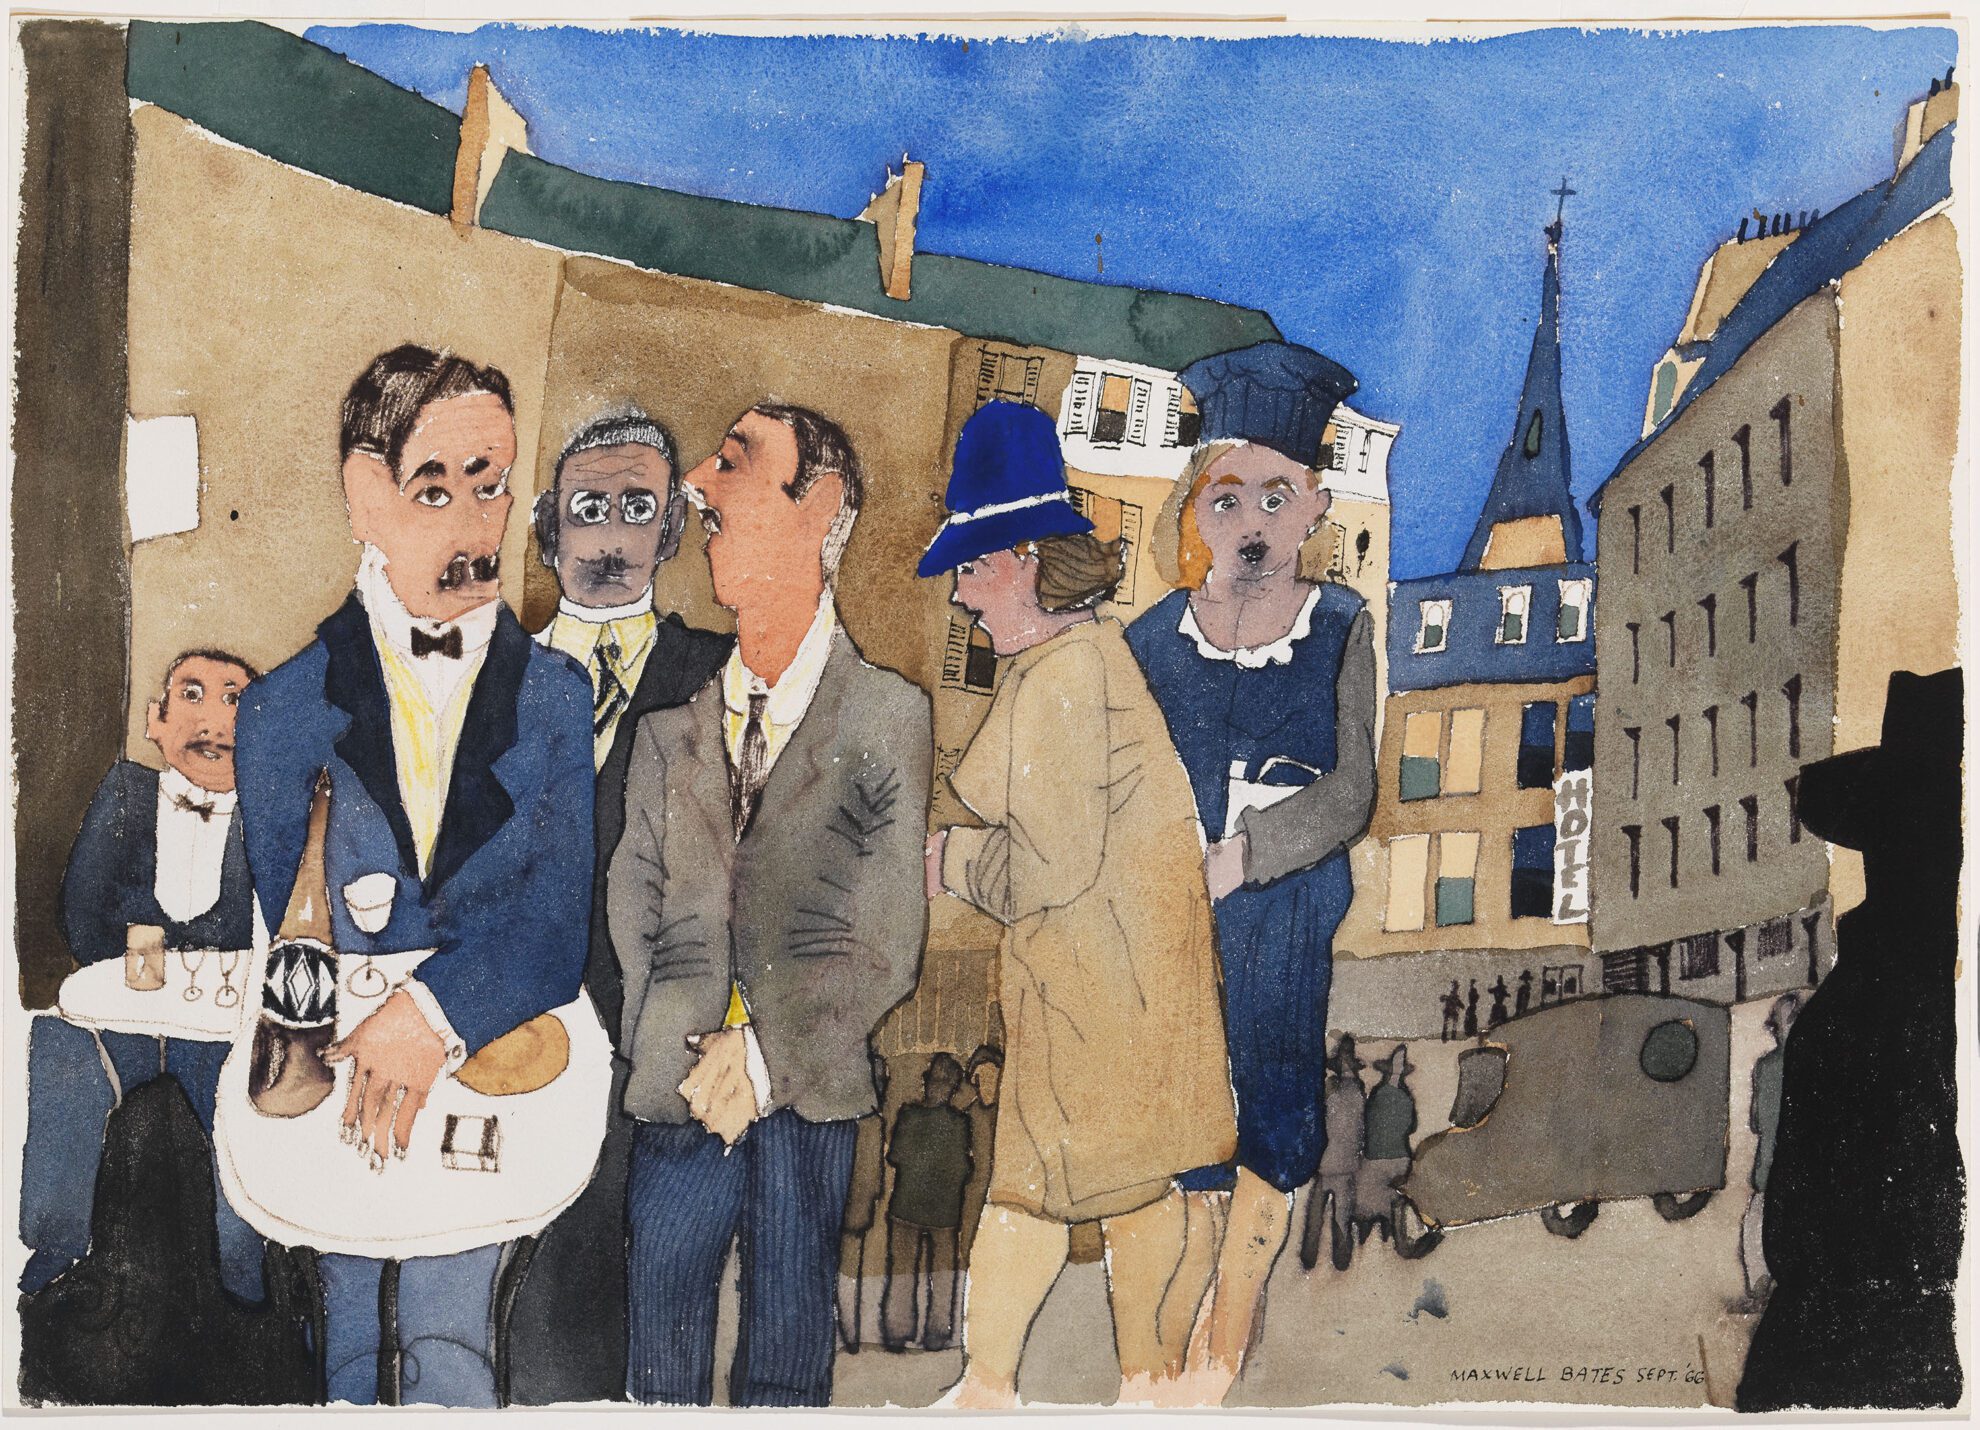
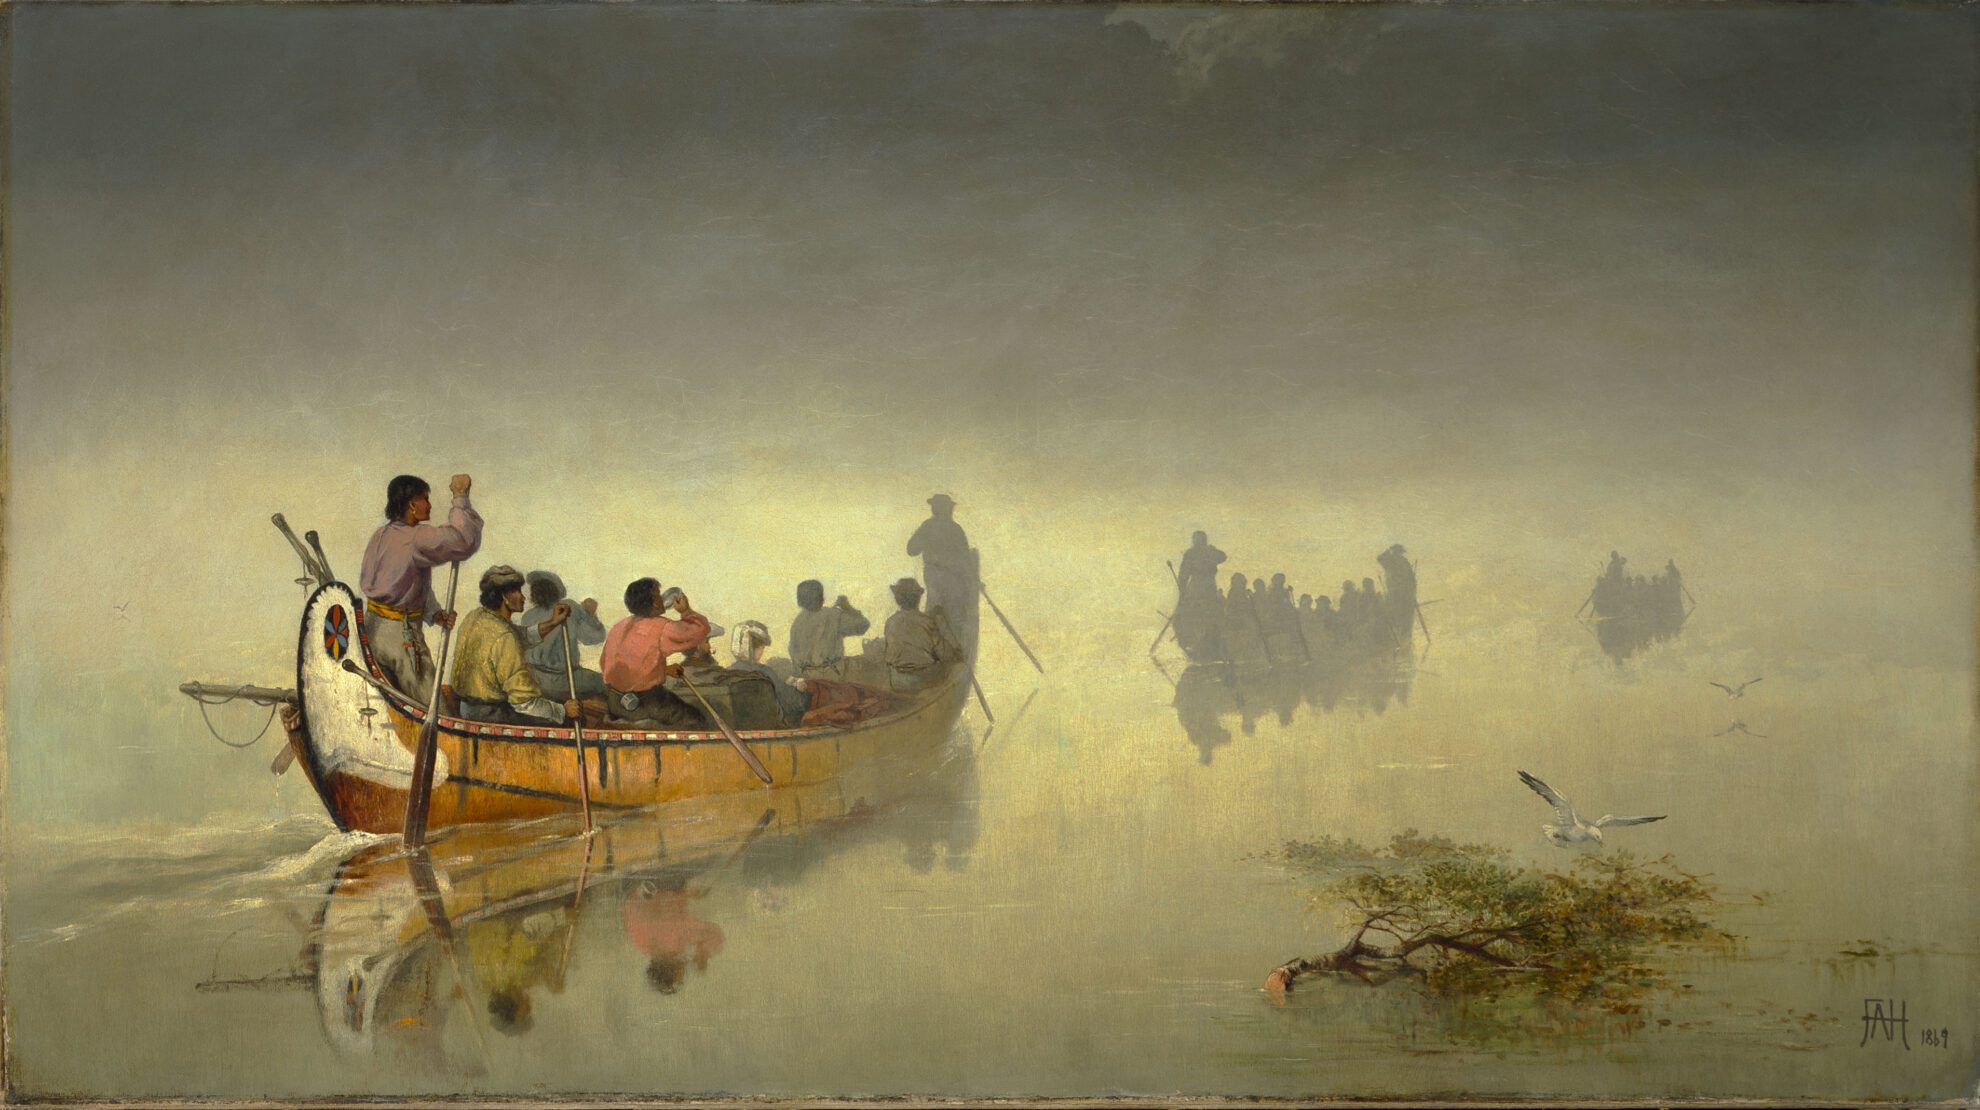
Artworks for this Activity
Make Your Own Viewfinder works with any artwork, nature, or your general surroundings. Explore some of the downloadable artworks for your group.